

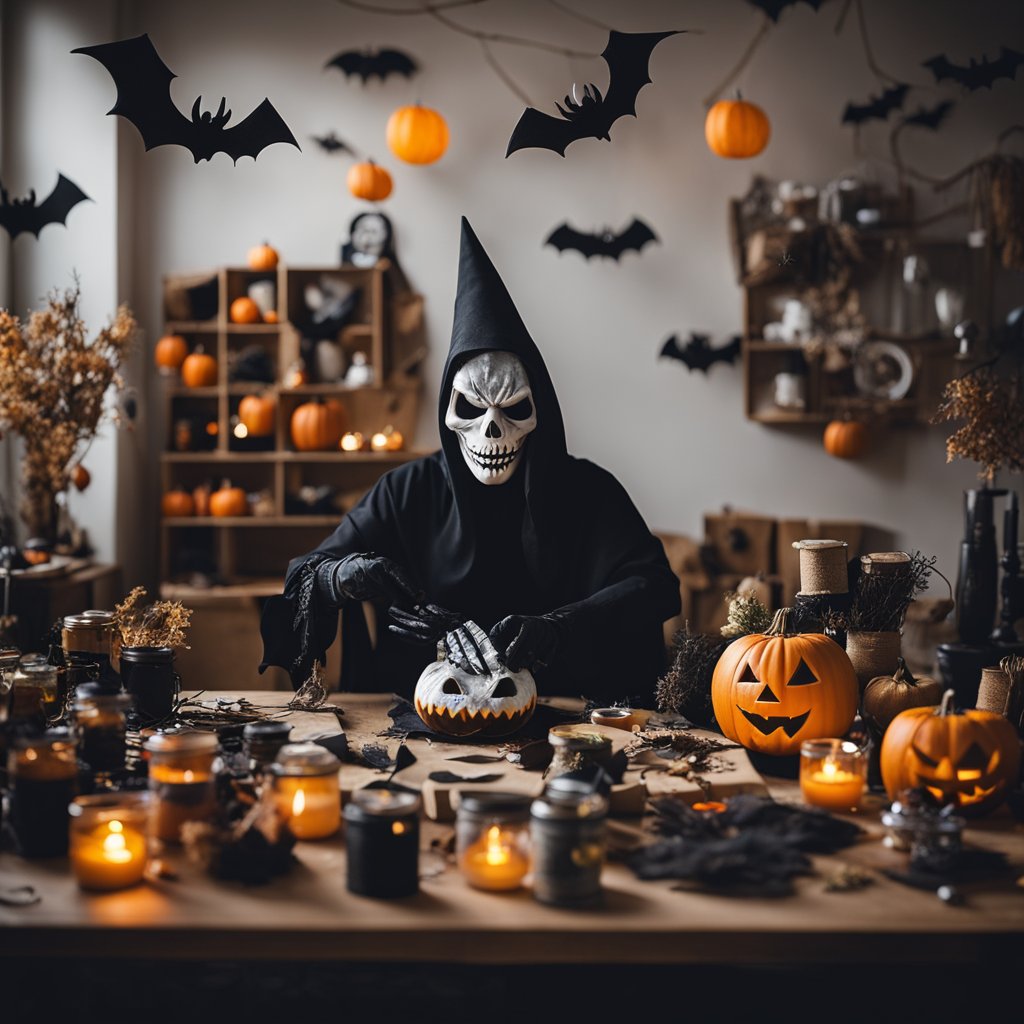
As Halloween approaches, I find myself eager to make my home truly spooky. Creating DIY Halloween props not only saves money, but it also adds a personal touch to my decorations. Whether I want to scare my friends or create a fun atmosphere for kids, making my own props can elevate the holiday experience.


I enjoy planning my decorations and thinking about the themes that excite me the most. From floating ghosts to eerie graveyards, there are endless possibilities for creativity. By gathering simple materials and following easy tutorials, I can craft an impressive display that reflects my style and imagination.
The excitement of Halloween is contagious, and nothing feels better than transforming my space into a haunted wonderland. With a little effort, I can make memorable decorations that will impress everyone who visits. Now, let’s dive into some great ideas for making your own Halloween props this season.
Key Takeaways
- Planning enhances creativity and ensures a cohesive theme.
- Simple materials can be turned into impressive Halloween props.
- DIY projects allow for personalization and fun during the holiday.
Planning Your Halloween Props

When I start planning my Halloween props, I focus on a few key areas. These include selecting a theme, budgeting, and ensuring safety. Each part is crucial for creating both fun and effective decorations.
Selecting a Theme
Choosing a theme sets the mood for my Halloween display. I consider popular themes like spooky graveyards, haunted houses, or classic monsters. Once I pick a theme, I gather inspiration from websites, magazines, and social media. This helps me visualize my decorations.
Next, I create a list of props I want to make or buy. For instance, if I choose a graveyard theme, I might include tombstones, skeletons, and cobwebs. It’s also helpful to consider how the theme fits into my yard or home. I make sure the props complement each other to create a cohesive look.
Budgeting and Materials
Budgeting is an essential step in my planning process. I decide on a total amount I’m willing to spend. Then, I break it down into categories, including materials, tools, and any purchased props. This keeps my costs in check.
I also make a materials list based on my chosen props. Common materials may include plastic sheeting, paint, and foam. Local craft stores or online retailers are great places to find affordable supplies. I often look for sales or discounts, especially for items like paint or fabric. Keeping track of my expenses helps me stay within my budget.
Safety Considerations
Safety is never an afterthought when I plan my Halloween props. I ensure that all my decorations are secure and not prone to tipping over or causing trip hazards. If I’m using lights, I always choose outdoor-rated versions to avoid electrical issues.
When making props, especially those with sharp edges or weight, I take extra care. I check that my materials are free from harmful chemicals, particularly if kids will be around. If I’m using tools, I follow the correct safety procedures. Taking these precautions helps me enjoy Halloween without worry.
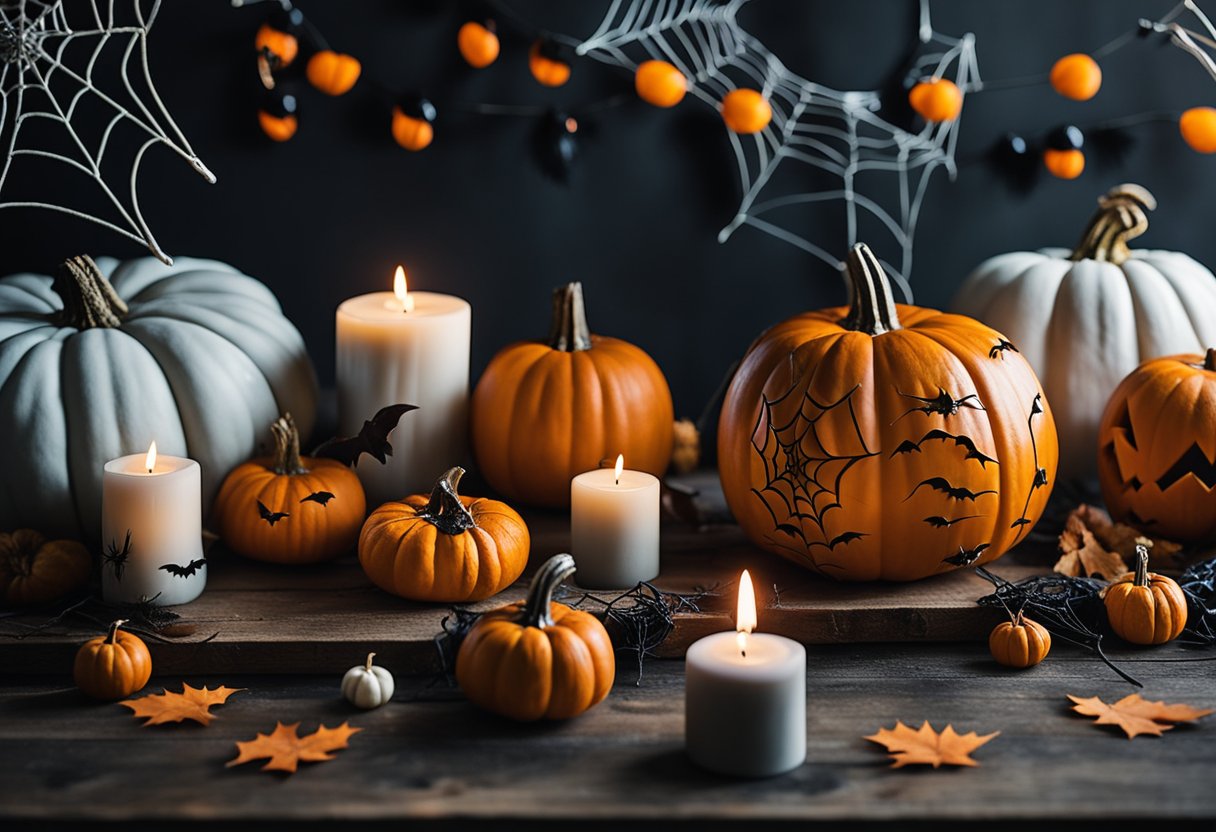
Creating Spooky Decorations

I enjoy making Halloween decorations that give my home a spooky feel. With a few simple ideas, I can transform my space into a haunted setting. Here are two effective methods to create ghostly figures and eerie cobwebs.
Ghostly Figures
Creating ghostly figures is one of my favorite ways to add spookiness to my decorations. I use white fabric, like bed sheets or tulle, to form the ghosts.
To make them look more realistic, I:
- Drape the fabric over a balloon or a small pumpkin to create the ghost’s body.
- Use black marker or felt to draw eyes and a mouth.
- Hang them from trees or inside the house.
Adding LED lights inside can give the ghosts an otherworldly glow. For a fun touch, I sometimes use glow-in-the-dark paint for eyes, making them visible at night!
Cobwebs and Creepy Cloth
Cobwebs instantly add a creepy vibe to any space. I buy fake spider webs from the store or make my own using cotton. Stretching it out creates a more realistic look.
For additional effects, I often include creepy cloth. Here’s how I make it effective:
- I tear strips of black or gray cloth and hang them at various heights.
- Placing real spiders or plastic ones enhances the scare factor.
- I also drape the cloth over furniture to create a haunted house effect.
Both of these decorations are easy, affordable, and effective in creating a spooky atmosphere for Halloween.
Animating Your Props

Animating your Halloween props can bring them to life and create a spooky atmosphere. By using simple mechanisms and adding sound and lighting effects, you can enhance your display and engage your audience.
Simple Motorized Mechanisms
To create movement in your props, I often use simple motorized mechanisms. You can choose from different types of motors like servo, vibrating, or fixed-speed motors. These motors can be controlled with basic electronic components.
- Servo Motors: Great for precise movements, especially in animatronic figures.
- Vibrating Motors: Perfect for a shaking effect in props like tombstones.
- Fixed-Speed Motors: Useful for continuous motion, such as rotating a creepy figure.
For a DIY approach, I recommend using an oscillating fan. This technique lets you create movement by attaching lightweight props that will sway or wobble. Utilizing controllers and sensors can also add interactive elements, making your display more engaging.
Lighting and Sound Effects
Adding lighting and sound effects can greatly enhance the impact of animated props. I focus on using LED lights for their brightness and low power consumption. You can find color-changing LEDs to create different moods.
- Flashing Lights: Perfect for a ghostly glow.
- Spotlights or Laser Lights: Ideal for highlighting key areas in your display.
For sound, I often use small speakers with motion-activated triggers. This can create startling noises or eerie music that match the movements of the props. By combining these effects, I can captivate my audience and make my Halloween display memorable.
Crafting Haunted House Essentials
Creating an eerie atmosphere for a haunted house is essential for a memorable Halloween experience. I focus on two main areas: tombstones to set a spooky graveyard scene and a witches’ lair to capture magical horrors.
Tombstones and Graveyards
I love crafting tombstones that give a haunted feel to any yard. To make them, I start with foam boards or plywood, cutting them into various shapes. I use a jigsaw for intricate designs, then paint them gray or black for a weathered look.
To add realism, I like to use a light brown dry brush technique to create texture. Adding simple graveyard sayings enhances the effect; phrases like “RIP” or “Here Lies” work well.
For added flair, I place the tombstones at different angles and heights in the yard. I also include faux cobwebs and plastic skeletons to complete the graveyard look. A few battery-operated candles can provide an eerie glow at night.
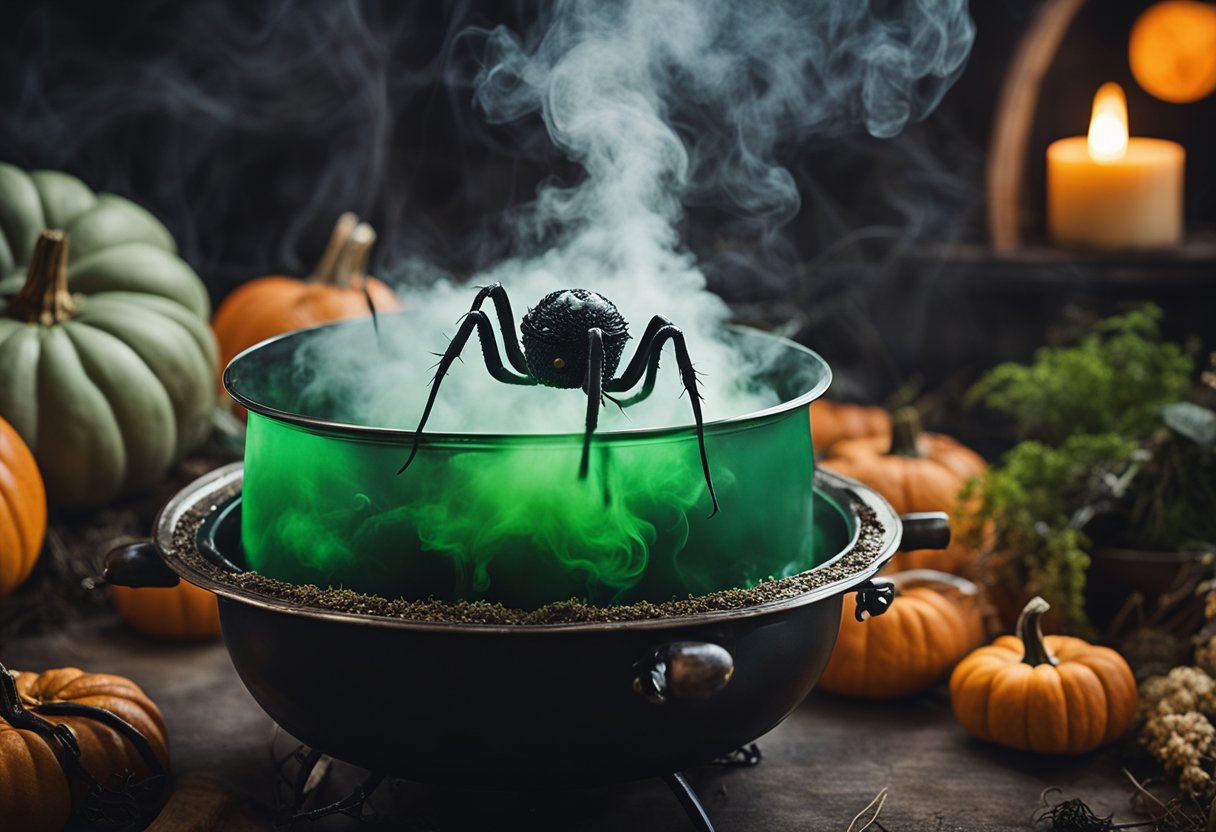
Witches’ Lair and Potions
A witches’ lair can transform a corner of my yard into a spooky scene. I begin with a large table covered in dark fabric, simulating a potions and spell-making area. I place jars filled with colored liquids or faux eyeballs (using marbles) to create an unsettling atmosphere.
I often use props like brooms and cauldrons. A black cauldron can be filled with dry ice and water for a bubbling potion effect, making it look active and magical.
To enhance the setting, I hang eerie decorations like bats or dried herbs. I also add a few signs pointing to different “potions” to encourage curiosity. This combination makes the lair inviting yet frightening, perfect for a haunted house.
Finishing Touches
Adding the final details can greatly enhance the look of your DIY Halloween props. I focus on two main aspects: painting to create effects and assembling the pieces securely. Both steps ensure that my decorations stand out and last through the Halloween season.
Painting and Aging Techniques
Painting is essential for achieving a realistic look for your props. I often start with a base coat using spray paint for a smooth finish. Once dry, I apply darker colors to create shadows and depth. For tombstones, I might use gray or black paint to mimic stone.
To age my props, I use a dry brush technique. I dip a dry brush in white or light gray paint and lightly brush it over the surface. This technique highlights edges and creates a weathered appearance.
For added realism, I sometimes use homemade washes. Mixing paint with water gives a semi-transparent layer that can mimic dirt or grime. Remember to let each layer dry before adding more for the best results.
Assembly and Installation Tips
When assembling my props, I prioritize a sturdy structure. I use hot glue or screws to attach different parts. For larger pieces, anchoring them to the ground or using weighted bases helps prevent tipping.
I also consider the placement of my props. I like to arrange them in visually interesting groups. Elevating some pieces on platforms adds dimension to the display.
Lastly, lighting plays a crucial role. I often incorporate LED lights to create eerie shadows and dramatic effects, enhancing the Halloween atmosphere. Solar or battery-operated options work well for ease of use.
Frequently Asked Questions
I often get questions about creating Halloween props. Many people want to know how to do it affordably, what materials to use, and ways to include everyone in the fun. Here’s a breakdown of common questions that can help guide your DIY Halloween projects.
How can I create outdoor Halloween props on a budget?
To make outdoor Halloween props without spending a lot, I recommend using materials like cardboard, old sheets, and painted pumpkins. Thrift stores often have cheap decorations I can transform with some creativity. Combine these items for a spooky porch display that won’t break the bank.
What are some simple DIY Halloween decorations for indoors?
For inside decorations, I like using items like mason jars and toilet paper rolls. These can be turned into ghost lanterns or mummies with just a bit of glue and some white fabric. I find that adding fun lighting, like string lights, enhances the spooky atmosphere without much effort.
What materials are needed for making durable outdoor Halloween decorations?
Durable outdoor props typically need weather-resistant materials. I use materials like plywood, PVC pipes, and outdoor paint. These withstand rain and wind better than paper or cardboard, ensuring my decorations last throughout the season.
Can PVC pipes be used for creating Halloween props, and if so, how?
Yes, I find PVC pipes to be incredibly versatile for Halloween projects. They can be shaped into skeletons, tombstones, or even framing for larger props. I simply cut them to size and assemble them using connectors to create a sturdy structure.
What are creative ways to make Halloween props for adults?
For adult-focused props, I like to use more sophisticated materials, like foam and fabric. I can create eerie shadow boxes or unique wall art using these. Adding elements like LED lights or sound effects makes the props more immersive and engaging.
How do I make easy DIY Halloween props suitable for all ages?
To create props for all ages, I focus on simple, safe materials like cardboard, non-toxic paints, and household items. Projects like paper plate masks or ghost decorations can be done together. I make sure to explain each step clearly, so everyone can join in the fun.